Sunday, April 21, 2013

Chocolate & Sea Salt Caramel Cupcakes

Totally unrelated to the cupcakes - I'm starting to feel like an official baker. Not because I've stopped making messes or nail every recipe (neither of those will ever happen). The source of this new-found excitement is an amazing early graduation gift.. a beautiful mixer from my parents! If you love to cook or bake, you have also likely heard angels singing and witnessed the skies opening if you've ever used one of these (half kidding). This mixer made life so much easier, despite wrestling with the caramel and trying (unsuccessfully) to keep it from dripping all over every surface. It was nice to have a free hand to start preparing the filling while the batter was being stirred. I really can't wait to try some more recipes using this - feeling very fortunate :)

And now onto the recipe - ever since the sea salt and caramel craze began, I've been dying to try a recipe that used it. The frosting and filling came from a couple of different sites. At the time, I also had a massive chocolate craving and decided on a whim to add cocoa powder to the cake mix. Lots of food blogs assured that this would work, but replacing the water with milk was suggested as it would help to balance out the density of the powder (they were right, these cakes were the fluffiest ever). I have to add that this recipe is very time consuming! I started this on a lazy afternoon before class, not anticipating the cooling process would take half as long as it did (still haven't learned to read the recipe completely before starting). It didn't matter.. I was feeling super ambitious and decided to make it work no matter what. Alternating the caramel and frosting between the freezer and refrigerator helped speed up the cooling process. However, I would still start this with a lot of time to kill next time. 

Another side note: these cupcakes are beautiful the first day, like little luscious sticky rolls. After a few hours, the sea salt settled into the frosting and gave a strange dotted appearance. The caramel also soaked through the cupcakes (delicious), making them very messy and sticky. All in all, I would definitely make these again! If you're a caramel fan, you will definitely love these cupcakes. In the end, they were addicting and light enough to have a few with tea or coffee :)

Chocolate and Sea Salt Caramel Cupcakes
Yield: 48 mini cupcakes or 24 regular cupcakes Prep time: 2 hours Bake time: 12-15 minutes

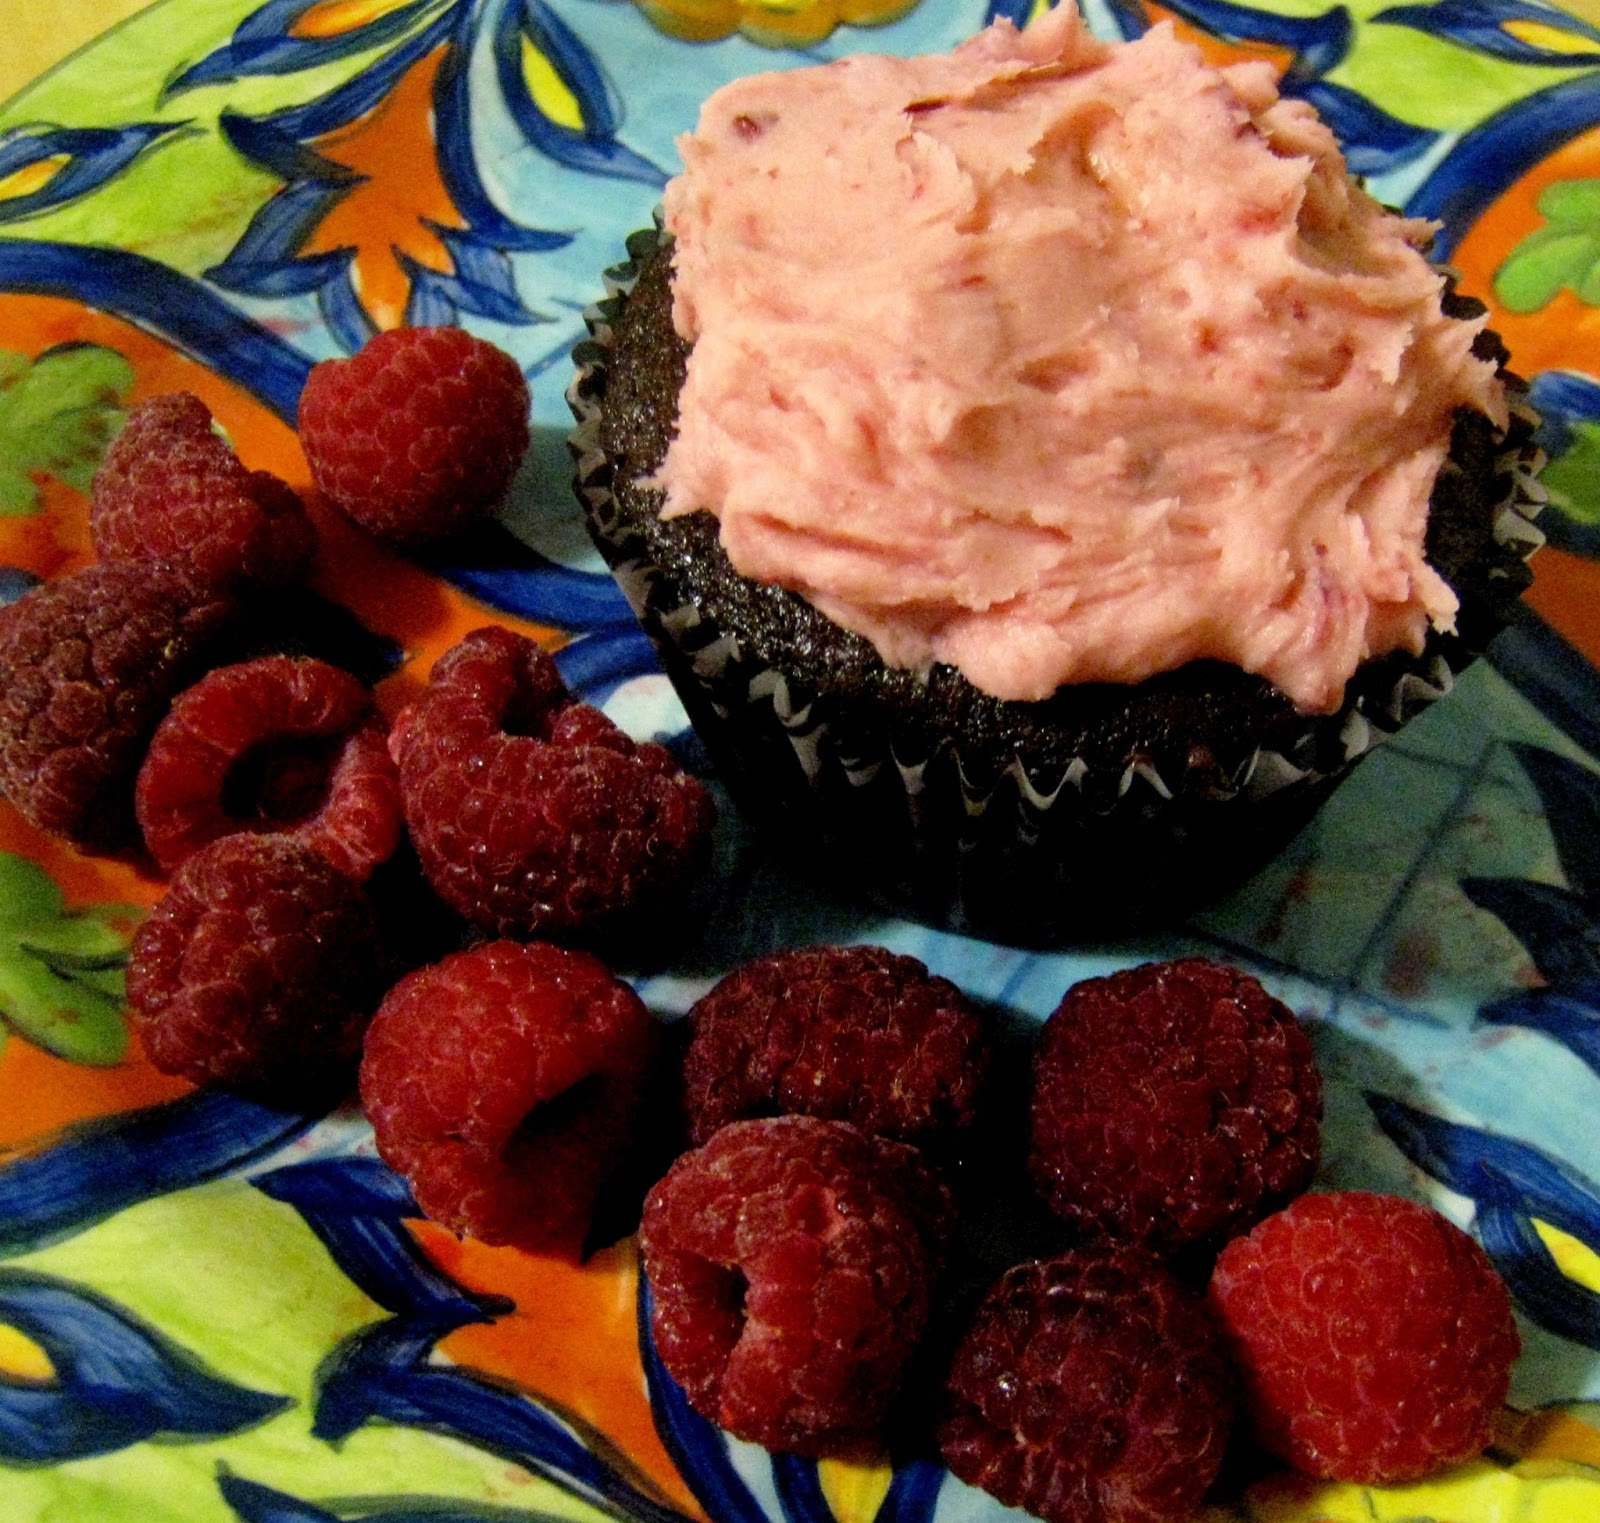
(The color in this picture is definitely not the best. Next goal: learn how to take and edit food pics!)

Ingredients
Chocolate Cupcakes
1 box Yellow Cake Mix
1/4 cup cocoa powder, sifted 

Caramel Filling (Recipe from Rose Bakes)
1 stick unsalted butter
1 cup packed light brown sugar
1/4 cup milk 
1 teaspoon vanilla extract

Caramel Frosting (Recipe from Delish)
1 cup packed brown sugar, light or dark 
6 tablespoons unsalted butter
1/3 cup milk 
1 pinch salt 
1 3/4 cups powdered sugar 
1/2 teaspoon vanilla extract 
Sea salt, for sprinkling on top

Directions 
For the cupcakes...
1. Prepare cake mix as directed on the box (I replaced the water with milk to make the batter a little fluffier). Sift in cocoa powder and use an electric mixer to mix until well combined, about 4 minutes.

2. Line a 24-cup mini muffin tin with liners. Fill each about 2/3 full and bake for 12-15 minutes. Repeat as necessary until all the batter is used up. Side note: If your oven is half as moody as mine, you may need to take the cakes out a couple times and gradually remove the fully baked cakes from the tin.  It's a pain, but I promise these little cakes are worth it!

3. Remove from pan and allow to cool completely before adding in filling. 

For the filling...
1. Cut the butter into inch-wide pieces and place in small saucepan over medium-high heat. Add the brown sugar and milk and stir frequently, allowing the butter to melt into the mixture. Cook mixture for 3-5 minutes and remove from heat. Allow to cool completely before piping into the cupcakes.

For the frosting...
1. Cut the butter into inch-wide pieces. Place in medium saucepan with brown sugar, milk and salt. Bring mixture to a boil and stir frequently, allowing the butter to fully melt. Bring mixture to a boil over medium-high heat. Once it starts to boil, lower temperature to medium and simmer mixture for 2 minutes, stirring frequently. Remove from heat and allow to cool completely before adding in powdered sugar. 

2. Beat in powdered sugar and vanilla until frosting reaches thick consistency. 

3. Allow frosting to sit in refrigerator for 30 minutes before using. After frosting the cupcakes, sprinkle on sea salt and voila! 

Side note: This frosting was insanely difficult to work with. I had big plans for using a few different piping tips, but it ended up being more of a glaze in the end. The combination of a caramel filling and glaze frosting made the cupcakes take on more of a donut flavor (which is never bad!). Also, this recipe will definitely test your patience but let each caramel mixture cool completely before working with it! It's worth the wait :)

Thursday, April 18, 2013

Pineapple Easter Cupcakes

So my mom has recently become inspired to learn how to decorate cakes (psyched to have somebody to share this with!). In preparation, she bought a ton of different frosting tips and a ginormous amount of piping bags - Easter was the perfect excuse to try them out! (Although this post is super late, these cupcakes could be changed to fit any occasion!) For some reason, pineapple cupcakes made so much sense to us. We needed some fresh flavors to bring on the feeling of spring, especially since it was the first beautiful weekend of the season. Obviously they needed to be brightly colored and covered with excessive amounts of candy. 

First, I want to add that this recipe came from an awesome little cupcake book, 500 Cupcakes. It has TONS of recipes and gives little variations for each one, so you'll never run out of ideas. I especially like this one because it has vegan, lactose free and gluten free recipes that work for my friends with different diet needs!

These cakes turned out to be bright and delicious, while the cream cheese frosting was the perfect complement. Bonus: this cake would be a perfect pairing for tons of other frostings... piña colada cupcakes anyone?

Pineapple Cupcakes with Lemon Cream Cheese Frosting 
Yield: 18 cupcakes Prep time: Bake time: 18-20 minutes

Ingredients
Pineapple Cupcakes (Recipe from 500 Cupcakes)
1 cup unsalted butter, room temperature
1 cup granulated sugar
2 cups cake flour
1 teaspoon baking powder
4 eggs
1 teaspoon vanilla extract
1 cup drained crushed pineapple 

Lemon Cream Cheese Frosting (Recipe from 500 Cupcakes)
1 cup cream cheese, room temperature 
1 1/2 cups powdered sugar
1 tablespoon lemon juice 
1 teaspoon vanilla extract


Directions
For the cupcakes...
1. Preheat the oven to 350 degrees and line 2 cupcake tins with 18 liners. 

2. Combine all cupcake ingredients, except for the pineapple. Beat ingredients together in a large mixing bowl until combined, or for 2 to 3 minutes. Stir in the pineapple. 

3. Spoon batter into baking cups until they're about 2/3 full. Bake for 18-20 minutes. Allow to cool for 5 minutes in the pan then remove to finish cooling on a wire rack.

For the frosting...
1. Slowly beat cream cheese and powdered sugar in a medium bowl until creamy and soft using an electric mixer.

2. Stir in the lemon juice and vanilla until well combined. For these cupcakes, I divided the icing into two small bowls and added about 4 drops of neon food coloring to each. These cupcakes were frosted using a medium open star tip and a medium french tip. Decorate and enjoy! Side note: These cupcakes can be kept for up to 5 days. They should be refrigerated and tasted best after letting them sit out for about 20 minutes before serving.


Saturday, March 30, 2013

Chocolate Raspberry Cupcakes

A coworker's birthday was coming up... what better excuse to make cupcakes? She is definitely a chocolate fan, but I also wanted to add something extra. Winter has been hanging on for dear life and we all needed a little brightness to liven up the cold week. These cupcakes were perfect for that! The raspberry frosting added fresh flavor and the orange extract and cinnamon brightened up the richness of the chocolate. Great cupcakes if you're looking for a pick-me-up! 

Side note: Both the cake and frosting recipe come from this amazing little box of recipes I received as a gift. So far, each cake and frosting has come out absolutely perfect. The cards also have little fun tips and ideas for combining different flavors (definitely worth picking up!). 

Chocolate Raspberry Cupcakes 
Yield: 12 cupcakes Prep time: 40 minutes Bake time: 18-20 minutes

Ingredients
Orange Chocolate Cupcakes (Recipe adapted from Mini Box Recipe - Cupcakes)
1/2 cup unsalted butter, room temperature
1/4 cup semi-sweet chocolate chips 
1/2 cup cocoa powder
3/4 cup cake flour 
1/2 teaspoon baking soda 
1/4 teaspoon baking powder
2 eggs 
3/4 cup sugar 
1 teaspoon orange extract
1/2 teaspoon cinnamon 
1 teaspoon vanilla extract
1/2 teaspoon salt 
1/2 cup sour cream 


Raspberry Frosting (Recipe from Mini Box Recipe - Cupcakes)
1/2 cup fresh or frozen raspberries 
1 teaspoon lemon juice 
1/2 cup unsalted butter
1 teaspoon vanilla extract
i/8 teaspoon salt 
2 cups powdered sugar 


Directions
For the cupcakes...
1. Preheat oven to 350 degrees. Line cupcake tin with liners and set aside. Combine butter, chocolate chips and cocoa powder in a double boiler and heat until melted. Stir mixture and remove from heat, allowing to cool for 5 minutes. Side note: If you don't have a double boiler, you could always just set a small metal mixing bowl placed over a saucepan of boiling water. There's a great tutorial to follow  here

2. Combine flour, baking soda and baking powder in a small bowl, then set aside. In a large mixing bowl, combine eggs, sugar, salt, vanilla, cinnamon and orange extract. 

3. Add the cooled chocolate mixture to the wet ingredients. Add a third of the flour mixture and stir to combine. Add the sour cream and stir. Add the rest of the flour mixture, stirring until batter is thick and creamy. 

4. Drop batter into the cupcake tin until each cup is 2/3 full. Bake for 18-20 minutes or until they pass the toothpick test.

For the frosting...

1. Place raspberries in a small, microwave-safe bowl and sprinkle lemon juice over them. Microwave on high for 4 minutes and 30 seconds. Remove from microwave and let cool to room temperature. Side note: This mixture is probably going to terrify you as soon as you see it! The raspberries get all shriveled and aren't even recognizable. Have no fear - that is exactly how they're supposed to look (I went through 2 batches of raspberries before coming to peace with it).  That being said, it helps to thaw your frozen raspberries if you choose those over fresh ones. 

2. Combine raspberries, butter, vanilla and salt in a large mixing bowl and beat until creamy. Gradually add powdered sugar until you've reached your desired consistency. 

Wednesday, March 27, 2013

Steak, Mushroom & Blue Cheese Salad

Lately, I've really, really been trying to be healthier. It's insanely difficult when you have a recurring urge to keep making cupcakes. The beautiful little Easter chocolates sitting around are also not helping - but, who else is gonna eat them?? Needless to say, I was very excited to try this recipe! It's from an amazing cookbook, The Best Simple Recipes, that is absolutely necessary for anyone who is hell-bent on teaching themselves to cook. The recipes are easy to follow, delicious and little write-ups tell you exactly which products to buy at the store. As for this recipe: it is a great man salad (you're welcome, Jeff), but is light enough to leave you feeling pleasantly full. A perfect busy weeknight meal. Hope you enjoy it, too :)

Steak, Mushroom & Blue Cheese Salad 
Yield: 2 salads Prep time: 20 minutes Cook time: 12 minutes

Ingredients
2 chuck steaks (8 oz.) or 2 strip steaks (8 oz.), about 1 inch thick 
1/2 tsp garlic salt
1/2 tsp cayenne pepper
1/2 tsp black pepper
1/2 tsp sea salt 
1/2 cup olive oil 
1/4 cup red wine vinegar 
1 medium shallot, minced
1 tablespoon Dijon mustard 
10 ounces white mushrooms, thinly sliced
1 (6 oz.) bag baby spinach 
2 tablespoons capers, drained and minced 
3/4 cup crumbled blue cheese 

Directions
1. Pat steaks dry with paper towels. Combine garlic salt, cayenne pepper, black pepper and sea salt in a small bowl then season the steaks. 

2. Heat 2 teaspoons of olive oil in a large skillet over medium-high heat. Cook steaks until well browned, 3 to 5 minutes per side. Transfer to a plate and cover with foil. Pour off the fat but do not wipe out the pan. 

3. As steak is cooking, whisk together remaining olive oil, red wine vinegar, shallot and mustard in a bowl. Season with salt and pepper. 

4. Return skillet to medium-high heat. Add mushrooms and 3 tablespoons of dressing. Cook until mushrooms are golden brown, about 6 to 8 minutes. Set aside and allow mushrooms to cool for 5 minutes. 

5. Toss spinach, capers, mushrooms and remaining dressing in a large bowl. Slice steak into strips, about 1/2 inch thick, and arrange over salad. Sprinkle with blue cheese and enjoy!

Adapted from The Best Simple Recipes

Saturday, March 16, 2013

Chocolate Strawberry Muffins (or the Dream Muffin)

My friend Dana was the one who convinced me to try these adorable looking muffins we had both seen on Pinterest (yes, we talk about Pinterest recipes and probably for a good 40% of the time we're together). I can't think of one thing involving chocolate and strawberries that hasn't tasted like it's straight out of heaven, so I was sold. The best part about these has got to be the fact that they're also guilt free. Applesauce takes the place of butter and oil, while strawberries have tons of antioxidants. 

These were extremely simple to throw together and turned out to be absolutely delicious. Of course you can tell that they're "skinny", but they're so tasty and satisfy my sweet craving that hasn't gone away since it was cookie season. Hope you enjoy them!

Chocolate Strawberry Muffins 
Yield: 10 muffins Prep time: 15 minutes Bake time: 15-18 minutes 


Ingredients
1 1/4 cup all purpose flour
1/2 teaspoon baking soda 
Heaping 1/2 teaspoon cinnamon
1/4 cup granulated sugar
1/4 dark brown sugar, packed
1/2 cup & 2 tablespoons unsweetened applesauce 
1 egg white, beaten
2/3 cup diced strawberries, fresh or frozen
1/3 cup mini chocolate chips 

Directions
1. Preheat oven to 350 degrees. 

2. Combine flour, baking soda and cinnamon in a large bowl then set aside. In a medium bowl, mix the granulated sugar, brown sugar and applesauce. Stir egg white into applesauce mixture until incorporated. Side note: A fork worked well for this step in breaking up the clumps of brown sugar. 

3. Add applesauce mixture to dry ingredients and mix until just incorporated. Gently fold in strawberries and chocolate chips. 

4. Lightly coat a muffin tin with cooking spray. Fill 10 muffin cups 2/3 full with batter. Bake for 15-18 minutes, or until they pass the toothpick test. Side note: Our old school oven wasn't doing well with baking them evenly, so they truly baked over a range of 15-18 minutes. At the 15 minute mark, I tested them every minute or so and took individual muffins out to cool when they were done. 

Recipe adapted from Sally's Baking Addiction

Saturday, February 23, 2013

Bacon & Chocolate Chip Cookies

The theme of unexpected ingredients is continuing this week with... bacon and chocolate chip cookies?! Almost every person who hears that asks again to make sure they heard correctly. Yes, Cookie Monster's and your dreams have come true (Unless you're really not a bacon fan. In that case, stay tuned!). I've made these once before and was pleasantly surprised by the combination. Soon as I saw this recipe had the twist of added sea salt, I had to try them again. You truly do have to love bacon. Still, the bacon was subtle and added an interesting flavor to what is always a perfect cookie!

Bacon & Chocolate Chip Cookies Topped with Sea Salt 
Yield: 2 dozen cookies Prep time: 20 minutes Bake time: 10 minutes 

Ingredients 
1 cup flour 
1/2 teaspoon salt 
1/2 teaspoon baking soda 
1/2 cup unsalted butter, room temperature 
6 tablespoons granulated sugar 
6 tablespoons dark brown sugar
1 teaspoon vanilla extract
1 egg
4-6 strips cooked bacon, cooled and crumbled
1 1/4 cup semi-sweet chocolate chips 
Sea salt 

Directions
1. Preheat the oven to 375 degrees. 

2. Combine flour, salt and baking soda in a small bowl. Set aside. 

3. Cream together butter with granulated and dark brown sugar until creamy. Beat in egg and vanilla. Using a hand mixer on low speed, gradually blend in the flour mixture until incorporated. Gently stir in bacon and chocolate chips. 

4. Lightly coat a baking sheet with cooking spray. Drop dough by rounded tablespoons onto the pan, 2 inches apart. Sprinkle a tiny bit of sea salt on top of each cookie. Side note: The dough gets really sticky so shaping the cookies can be tricky (rhyme almost unintended). You might have to add small bits of dough to some of the cookies depending on the size. 

5. Bake for 10 minutes or until cookies are lightly browned. Allow to cool on a cooling rack then store in an airtight container. Enjoy! 

Recipe adapted from Knead to Cook 

Wednesday, February 20, 2013

Penne with Zucchini & Mint

It's vacation week!! You know what that means - tons of new recipes will be tested this week. I'm so excited to have some time off, mainly because finding time to cook a real meal between internship and class is almost impossible. This is why a big goal of mine lately has been finding quick recipes that don't involve dinosaur chicken nuggets or peanut butter (haven't paired these in the same dish... yet). 

This first one comes from Ellie Krieger, who is definitely one of my cooking idols. Besides the fact that she's always eerily calm, she has a gift for making healthy food absolutely delicious. Every recipe in her book, So Easy, has been awesome so far and I can't wait to keep trying more. Each recipe is written in a way that makes it seem doable, even if you're totally freaked out in the kitchen. Another sad plus: eating healthy meals feeds my delusion that veggies can balance out the constant presence of cupcakes and cookies in our kitchen. 

Seeing the words mint and pasta in the same title made this recipe a little scary. I've only ever used mint in mojitos and it was starting to feel like an Iron Chef challenge (and the secret ingredient is..... MINT! ::Gasp::). But, it's such a unique combination that I had to try it. It turns out that all my fears were unwarranted - the pasta was delicious!! It was so light and the mint added a pleasant little pop of flavor. Jeff and I almost finished the pot, so this is definitely something to hide away if you're one for portion control. I could see this pasta being great with other veggies too such as squash or mushrooms. Hope you enjoy it as much as we did :)

Penne with Zucchini & Mint 
Yield: 4 servings Prep time: 15 minutes Cook time: 20 minutes 

Ingredients
1 box (13.25 ounces) whole-wheat penne pasta 
1/4 cup olive oil 
4 large cloves garlic, thinly sliced 
2 medium zucchini, sliced into 1/4 inch thick half moons 
2 tablespoons fresh lemon juice
1 teaspoon lemon zest
3/4 teaspoon salt 
1/2 teaspoon black pepper 
1/2 cup grated Parmesan cheese 
1/4 cup chopped fresh mint leaves 

Directions
1. Bring a large pot of salted water (1 teaspoon of salt will work) to boil over medium-high heat. Add the penne and cook until al dente, about 10 minutes. 

2. While the pasta is cooking, heat olive oil in a large skillet. Add the garlic and cook over medium-low heat for 6 minutes, or until garlic is lightly browned. Side note: It is super easy to burn garlic! I've done it more times than I'd like to admit. If the garlic is looking brown before the 6 minutes is up, it would be safe to move on to the next step. 

3. Add the zucchini and stir to incorporate. Cover and cook, stirring occasionally, for 6 to 8 minutes or until zucchini is tender. Remove from heat. Stir in the lemon juice, zest, pepper and salt.  

4. Drain the pasta then return to the pot. Add the zucchini and sauce, Parmesan cheese and mint. Toss to combine. 

Recipe adapted from Healthy Eating with Ellie Krieger